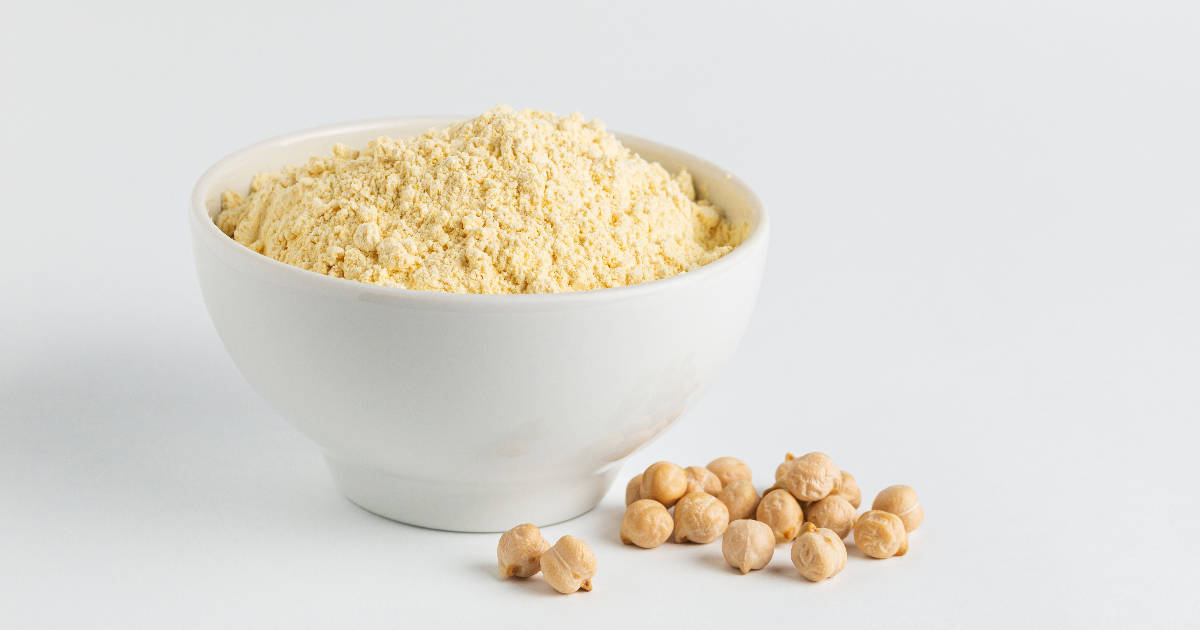
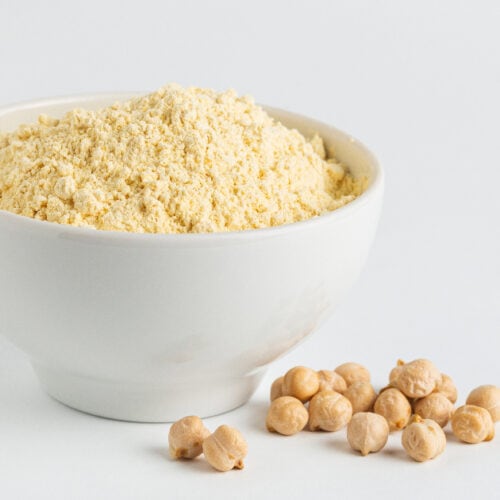
Chickpea flour, also known as gram flour, besan, or garbanzo bean flour, is a versatile and nutrient-dense flour made from ground chickpeas.
With its mildly nutty flavor and binding properties, chickpea flour can be used to make flatbreads, pancakes, pizza crusts, fritters, cookies, and more.
Plus, it's naturally gluten-free, making it a great option for anyone avoiding gluten.
Benefits of Chickpea Flour
These are the benefits of chickpea flour:
- High in protein and fiber: Chickpeas are packed with plant-based protein and fiber, qualities that carry over into chickpea flour. Just one cup provides over 25 grams of protein.
- Gluten-free: Unlike wheat flour, chickpea flour contains no gluten at all, making it perfect for gluten-free and paleo diets.
- Natural binding agent: Thanks to its natural starch content, chickpea flour works well to hold ingredients together in veggie patties, fritters, falafel, and more.
- Versatile flour: You can use chickpea flour in both sweet and savory recipes, from pancakes to pizza crust and everything in between.
- Mild flavor: While chickpea flour has a distinctive flavor, it's mild enough that it works well alongside other ingredients without overpowering a dish.
Key Takeaway: Chickpea flour offers a variety of nutritional and cooking benefits, from its high protein and fiber content to its binding properties that allow it to hold ingredients together.
Ingredients Needed
To start, you'll need just one main ingredient:
- Dry chickpeas (also labeled garbanzo beans). You'll also find brown and green varieties, but the most common type to use is the beige-colored chickpea.
In addition, you'll need some basic kitchen tools:
- High-powered blender or food processor
- Spice grinder, coffee grinder, or food processor
- Sifter or fine mesh strainer
- Airtight container for storage
And that's it! Just dry chickpeas and some appliances to grind them down into a fine powder.
Step-by-Step Instructions
How to Make Chickpea Flour (Powder) at Home - Recipe
Ingredients
- Dry chickpeas
Instructions
Measure and Rinse (Optional)
- First, measure out the dry chickpeas you'll be turning into homemade flour. As a general rule, 1 cup of dry chickpeas makes around 1 1⁄2 cups chickpea flour.
- Some people also like to rinse the dry beans before grinding to remove any dirt. This step is optional since the skins will be removed and won't impact the final flour.
Grind the Chickpeas
- Now, add your measured chickpeas to a high-powered blender or food processor. Cover and blend on high speed for 1-2 minutes, stopping to shake or stir periodically, until a fine flour forms with a powdery consistency.
- Be patient, as this first grind can get loud! Just keep at it until the beans turn to powder.
- Alternatively, you can use a coffee grinder or spice grinder to grind the beans. This will take longer since you'll need to work in smaller batches, about 1⁄4 cup at a time. Simply grind in pulses for 1-2 minutes per batch.
- Grinding Tip: Use short 1-minute intervals and shake the blender/grinder frequently to prevent overheating.
Sift the Flour
- Next, you'll want to sift the freshly ground chickpea flour to catch any remaining whole chickpeas or large pieces that weren't fully ground down.
- Place a fine mesh strainer or sifter over a large bowl, then pour the chickpea flour mix over the top, shaking and tapping to allow the fine flour to fall through.
- Discard any large chickpea pieces that couldn't pass through the strainer, or consider giving them another whirl in the blender if you want to maximize yield.
Store and Use
- Finally, transfer the sifted chickpea flour into an airtight container or glass jar for storage. If stored properly in a cool, dark place, the flour will stay fresh for 2-3 months.
- Then get cooking! You can use your homemade garbanzo bean flour in any recipe calling for traditional or gluten-free chickpea flour. It may have a slightly coarser, more rustic texture than store-bought.
- Pro Tip: Try adding some to pancakes, flatbreads, fritters, pizza dough, and more to reap the benefits of this protein and fiber-filled flour!
Tips for Making Chickpea Flour
Follow these tips to take your homemade chickpea flour to the next level:
Start with quality beans - Use whole, raw chickpeas free of debris or imperfections to get the best results. Sort through them first to remove any stones or shriveled beans.
Consider soaking - Soaking the raw chickpeas 8-12 hours before grinding can make the final flour more digestible. Then simply drain, rinse, and pat completely dry before grinding.
Roast them (optional) - Roasting brings out the nuttiness in the beans. Roast at 400°F for 5 minutes if desired. Cool completely before grinding.
Use a powerful grinder - Investing in a heavy-duty blender or food processor ensures the beans grind evenly into a super fine powder. This prevents grittiness.
Grind small batches - When using a coffee grinder or spice grinder, grind just 1-2 tablespoons at a time for a smoother blend. Shake between pulses.
Sift thoroughly - Sift the flour through a fine mesh strainer to catch all stray chickpea chunks. You want a silky smooth final product.
Follow those tips and tricks for flawless homemade chickpea flour every time.
FAQs
Can you make chickpea flour from canned chickpeas?
Technically yes, but dried chickpeas work much better. Canned chickpeas are already hydrated so they won't grind evenly into a fine powder. You'd need to dehydrate them first by roasting until completely dried out. At that point, starting with raw dry beans is easier.
Do you have to remove the skins before grinding chickpeas?
No, there's no need to skin the beans. The chickpea skins provide valuable fiber that transfers over to the flour. Removing them makes for a less nutritious final product.
How long does homemade chickpea flour last?
If stored properly in an airtight container in a cool, dry place, your homemade chickpea flour will stay fresh for 2-3 months. Consider freezing portions for longer storage.
What do you use chickpea flour for?
There are endless ways to cook and bake with protein-packed chickpea flour at home! From flatbreads and pancakes to cookies, cakes, and pizza dough, it adds nutrition, moisture, rise, and binding power.
Can I substitute chickpea flour 1:1 for all-purpose flour?
You sure can! Thanks to its binding abilities, chickpea flour substitutes 1:1 for all-purpose in most recipes. Keep in mind it does have a stronger flavor. Cutting it with a milder flour can help mellow out the taste.
Conclusion
Making your own chickpea flour is simple and rewarding. In less than an hour, you can have fresh, additive-free garbanzo bean flour to use in all kinds of delicious recipes.
Give it a try next time a recipe calls for besan flour and see how the nutrition and subtle nuttiness enhance dishes from falafel to cookies. Store leftovers properly and this wholesome homemade flour will keep for months.