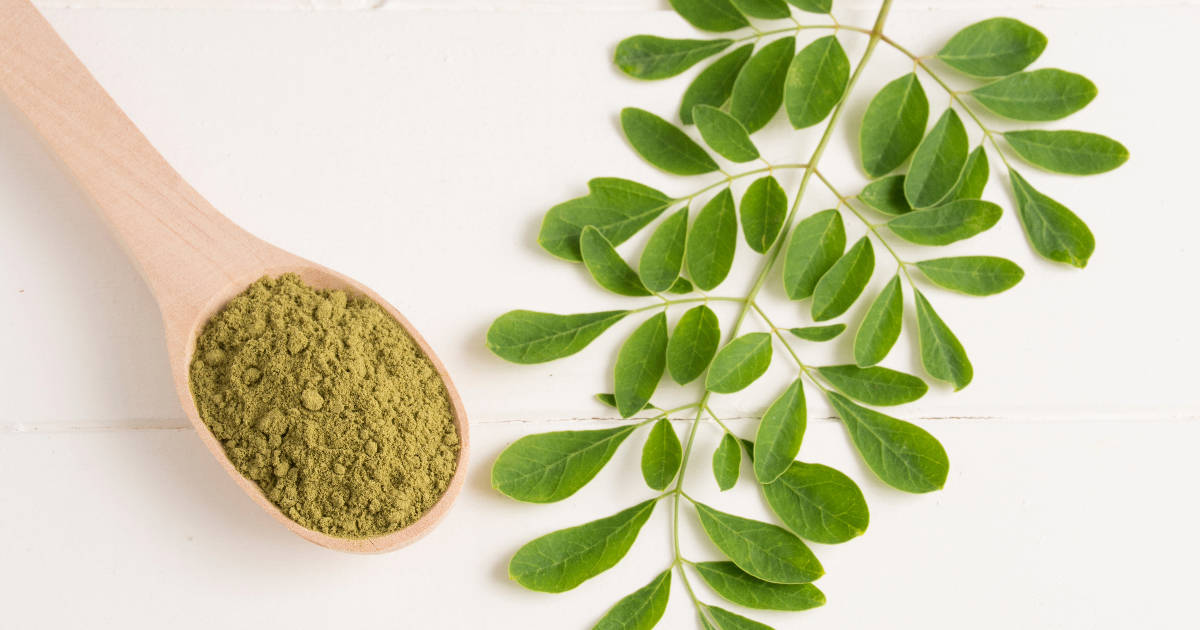
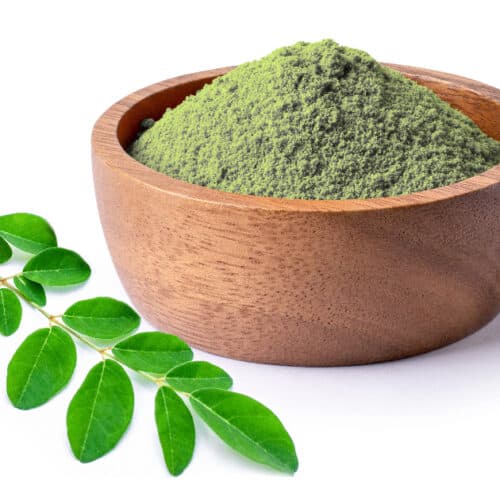
Moringa powder has become increasingly popular in recent years due to its many touted health benefits.

Made from the nutrient-dense leaves of the moringa tree, also known as the drumstick tree or miracle tree, moringa powder is packed with vitamins, minerals, antioxidants and more.
Buying & Storing Moringa Leaves
When making your own moringa powder, you have two options for sourcing the fresh moringa leaves:
1. Grow Your Own Moringa Tree
The best way to ensure a fresh and steady supply of moringa leaves is to grow your own moringa tree. Moringa trees grow rapidly in hot climates with well-draining soil. If you live in a cooler climate, you can also grow moringa indoors.
Tips for growing moringa:
- Start seeds or cuttings in spring
- Plant in well-draining soil
- Place in full sun
- Water regularly
- Harvest leaves often to encourage growth
2. Purchase Fresh Moringa Leaves
Not everyone can grow a moringa tree, especially if you live far from the tropics. Luckily, fresh moringa leaves are increasingly available at specialty grocery stores, Asian and Indian markets. When buying fresh moringa leaves:
Look for leaves that are:
- Bright green
- Unwilted
- Free of spots or blemishes
Proper storage for fresh leaves includes:
- Removing leaves from stems
- Storing loosely packed in paper or cloth bags
- Keeping in the refrigerator for up to 1 week
Avoid storing fresh leaves in sealed plastic bags or in the crisper drawer, as lack of airflow can cause rotting. Use fresh leaves within a few days for best quality and nutrition retention.
Step-By-Step Guide to Making Moringa Powder

Moringa Powder Recipe
Ingredients
- Moringa Leaves
Instructions
Harvest or Purchase Fresh Moringa Leaves
- Harvest fresh young leaves from your moringa tree. Pick leaves that are vibrant green without wilting or spots. Smaller, new growth leaves tend to be more tender with better flavor.
- If buying fresh leaves, look for bright green, unwilted leaves at the market. Choose leaves with smaller stems which tend to be more tender.
Wash and Dry Moringa Leaves
- Wash fresh moringa leaves by gently agitating them in a bowl of cool water. Make sure no debris remains on leaves.
- After washing, use a salad spinner or pat leaves dry with paper towels to remove excess moisture. Removing moisture is vital to the drying process later on.
- Optional blanching: Some people recommend blanching moringa leaves to retain color and potentially nutrients. To blanch, submerge leaves in boiling water for 2 minutes then promptly shock in ice bath.
Remove Stems and Pick Over Leaves
- Pluck moringa leaves from the central stems and discard thick stems and ribs.
- Look over leaves and remove any unwanted bits of debris, dead leaves or dirt specs that remain. This ensures purity and quality of finished powder.
Dry Moringa Leaves
- Proper drying is the most vital step for long-term storability of moringa powder. Remove ALL moisture from leaves before grinding into powder.
Drying options include:
- Drying in the hot sun: Spread leaves in a thin layer on mesh racks or clean cloth. Sprinkle occasionally with water to prevent burning. Cover with mesh to keep out pests and allow airflow. Dry in direct sunlight for 2-7 days depending on humidity, turning over halfway through. Leaves are done when fully dried and crispy.
- Dehydrator: Arrange leaves in a single layer on dehydrator trays. Dehydrate at 95-115 ̊ F for 12-48 hours until completely dried out. Check periodically to avoid burning.
- Oven: Arrange leaves thinly on oven racks or parchment paper. Heat at lowest temperature setting with oven door cracked for airflow. Drying time ranges from 6-48 hours. Check periodically to ensure leaves do not burn. Use this method for small quantities only.
Grind Dried Leaves into Powder
- Once fully dried, leaves will be brittle and crackly. Grind them into a fine powder in batches using a:
- Spice or coffee grinder: Quick and effective for small batches
- Blender or food processor: Great for larger batches. May require extra straining to remove fibrous bits
- Mortar and pestle: Manual grinding method requiring elbow grease
- Use short pulses and shake jar often while grinding. Be careful not to burn out electric grinders. For larger batches, grind leaves in small batches and combine all powder in the end.
Sift Moringa Powder (Optional)
- For ultra-fine moringa powder, sift the ground leaves through a fine mesh sieve or small colander. This removes remaining fibrous pieces and leads to a more refined texture.
Store Moringa Powder
- For storage, transfer ground moringa powder to a sealed glass jar or container. Store in a cool, dry place away from light and heat to retain nutrients.
- With proper drying, moringa powder can be stored for:
- - 6 months at room temperature
- - 1 year refrigerated
- - 2+ years frozen
- Over time, powder may darken slightly but still remains nutritious if original leaves were properly dried. Discard if any moisture, clumping or foul odor develops.
Using Moringa Powder
Moringa leaf powder is versatile with a mild flavor that complements both sweet and savory recipes:
Savory recipes:
- Stir fries, stews and curry dishes
- Soups, dips and sauces
- Rice, quinoa or veggie side dishes
- Sprinkle on eggs, avocado toast or salads
Sweet recipes:
- Smoothie bowls and green smoothies
- Oatmeal and chia pudding
- Pancake and waffle batter
- Vegan yogurt, nice cream and chia puddings
- Baked goods like breads, cookies and more
Moringa powder works best when added to hot or warm ingredients that help dissolve and incorporate it. Avoid adding directly to cold liquids or foods which leads to clumping. Start with 1⁄2 to 1 teaspoon per serving and adjust amounts as needed.
In some cases, soaking moringa powder for 5-10 minutes in a hot liquid may improve dissolution prior to adding to recipes. Enjoy this vibrant green superfood powder in both simple everyday meals and decadent treats!
FAQs
How much powder can you get from fresh leaves?
On average, 1 pound of fresh moringa leaves makes approximately 1 ounce of dried moringa powder. Due to moisture loss, the powder weighs much less but is more nutrient-dense.
Does boiling or cooking moringa destroy nutrients?
Some vitamin and antioxidant loss will occur from any cooking process. However, studies show that moringa retains significant antioxidant and nutrient levels even after boiling, simmering or frying leaves for extended times.
What’s the best way to use moringa powder?
The most effective way to maximize nutrients is to use moringa powder shortly after grinding dried leaves. Adding fresh powder to hot soups, stews or beverages helps preserve delicate nutrients. That said, properly stored powder remains highly nutritious for months or years.
Can I substitute fresh leaves for moringa powder?
Yes, but with some key differences. Fresh leaves have higher moisture while dried powder concentrates nutrients and compounds. Adjust dried powder amounts down when swapping equal weights of fresh leaves to account for moisture loss. And add fresh leaves at the end of cooking.
Is it necessary to blanch fresh moringa leaves before drying?
Blanching is optional. Studies show mixed effects on nutrient retention from blanching. Vitamin C levels decreased post-blanching while certain antioxidants increased. Blanching may improve shelf life but air drying alone yields excellent powder.
What’s the best way to use up extra moringa powder?
Extra powder stores well frozen for 1-2 years. Or incorporate it into flavorful recipes like moringa pesto, herb salt blends, veggie powders or homemade capsules - the ideas are endless! With its mild earthy flavor and nutritional powerhouse status, moringa powder makes an excellent addition to spice racks.
Conclusion
Making your own moringa leaf powder only requires fresh moringa leaves, time and some basic equipment for drying and grinding.
While the process takes dedication, flavorful and nutrient-dense homemade powder far surpasses store-bought options in quality and value.

