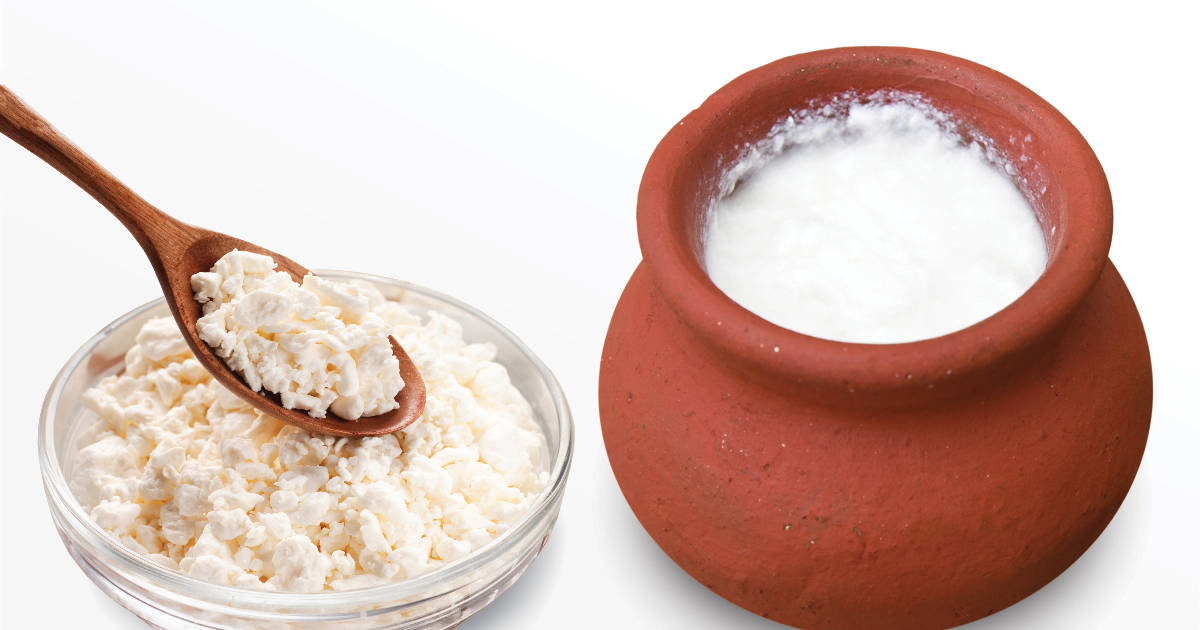
Making your own homemade buttermilk powder is easy and ensures you always have buttermilk on hand when a recipe calls for it. No more buying cartons of buttermilk only to throw most of it away when it inevitably spoils before you can use it all!

With just a few simple ingredients and either your oven or a food dehydrator, you can make batches of buttermilk powder to keep in your pantry for months.
Equipment Needed
Very little special equipment is needed to whip up a batch of buttermilk powder:
- Mixing bowl - To blend the initial buttermilk mixture
- Whisk - To combine ingredients
- Liquid measuring cup - Allows easy pouring onto trays
- Rubber spatula - For evenly spreading the buttermilk mixture
- Parchment paper - Lines your trays for nonstick drying
- Baking sheets - Provides a drying surface
- Food dehydrator - Best for controlled, even drying
- Oven - Can work in a pinch if you monitor closely
- Blender or food processor - To finely grind the dried buttermilk into powder
- Airtight container - Storage to keep your powder fresh
Shop around your kitchen first before purchasing anything new. Part of the beauty of DIY buttermilk powder is being able to make it with minimal specialized tools.
How to Make Buttermilk Powder

How to Make Buttermilk Powder - Recipe
Ingredients
- Buttermilk - Use good quality cultured or regular buttermilk. Quantity is flexible based on how much powder you want to make.
- Lemon juice - Adds extra tanginess and helps preserve the powder. About 1 tablespoon per 1 cup buttermilk.
- Parchment paper - Lines your trays for easy removal later.
Optional extra ingredients:
- Sugar or salt for flavor
- Extra milk powder or cornstarch to help absorption
Instructions
- Mix the buttermilk and lemon juice together
- Spread the mixture thinly onto parchment paper lined dehydrator trays or baking sheets
- Dehydrate at 170°F until completely dry and brittle, about 4-6 hours
- Process the dried buttermilk chips into a fine powder
- Store in an airtight container for up to 6 months
Pro Tip: Powdered buttermilk on its own can clump when reconstituted. Adding nonfat milk powder or cornstarch (about 1-2 tablespoons per cup buttermilk) helps it mix smoothly.
Mixing
First, pour the buttermilk into a bowl or liquid measuring cup. Add the lemon juice and whisk together.
To help the buttermilk powder absorb better later, you can also mix in some nonfat milk powder, cornstarch, sugar or salt at this point if desired.
Dehydrating
Pour the buttermilk mixture onto parchment paper lined dehydrator trays or baking sheets. Use a spatula to spread it out evenly into a thin layer, no more than 1⁄4 inch thick.
Dehydrate at around 170°F, flipping halfway through. This can take 4-6 hours. Test for doneness by checking if the buttermilk pulls away from the parchment and is completely hard and brittle throughout.
If using the oven, prop the door open slightly to allow moisture to escape. Rotate trays and check frequently near the end to ensure the buttermilk does not start browning around the edges.
Processing
Once fully dehydrated, break the buttermilk into smaller shards and place them into a food processor or high powder blender. Blitz into a fine powder.
Make sure no moisture remains before blending, or the powder will clump up.
Storing
Pour the DIY buttermilk powder into a clean, dry airtight container such as a mason jar or reusable bag. Store in a cool, dark place and it will keep for 3-6 months.
Over time, clumping can still occur if any unseen moisture remains in the powder or penetrates through the container. Give it a stir or quick whizz in the blender periodically to break up any clumps.
And that's it - you now have your own homemade batch of buttermilk powder that's versatile, budget-friendly, and made to your own high standards!
How to Use Buttermilk Powder
Your homemade buttermilk powder is incredibly versatile in both sweet and savory recipes.
Here are some of the many ways to use it:
- Reconstitute into liquid buttermilk
- Add to pancakes, waffles, biscuits, muffins, cakes, frostings
- Use in marinades, dips, dressings, coatings
- Make Ranch seasoning and dip mix
- Add to bread, corn bread, and scone mixes
- Shake over air fried or roasted potatoes
- Mix up self-rising flour
- Prepare soak-the-night-before oatmeal
To reconstitute the powder back into buttermilk, use a 1:4 ratio, mixing 1⁄4 cup powder into 1 cup water.
Let it sit for 5 minutes, stirring occasionally, until dissolved and slightly thickened. Use stir before using in recipes.
For best flavor, use filtered or distilled water if possible versus tap water. Or you can use milk instead of water for extra richness.
Key Takeaway: Homemade buttermilk powder can be used in a multitude of recipes. Reconstitute it into liquid buttermilk, or add it directly into baked goods, marinades, coatings and more.
Now that you've got a batch of handy powder on hand, try it in one of these delicious recipes:
- Buttermilk Biscuits
- Buttermilk Pancakes
- Buttermilk Ranch Seasoning
- Buttermilk Fried Chicken
- Buttermilk Scones
- Buttermilk Caramel Cake
Troubleshooting
While the process is quite simple, here are some troubleshooting tips for common issues:
Powder clumps - Ensure buttermilk is fully dehydrated before grinding. Store in air tight containers. Blend periodically to break up clumps.
Burned edges - Rotate trays and loosely tent foil over edges if browning in the oven.
Not brittle enough - Continue dehydrating at same temp until buttermilk is fully hardened and brittle throughout.
Milk separates - Make sure milk powder dissolves fully when mixing the initial buttermilk blend.
Doesn't have enough tang - Add more lemon juice or vinegar to the mixture. up to 1-2 tablespoons per cup of buttermilk.
Bad smell or taste - Buttermilk powder that smells rancid or tastes off has likely spoiled. Toss it out and make a fresh batch. Properly stored, homemade powder lasts 3-6 months.
Clumpy texture - For smooth liquid buttermilk, make sure powder is fully incorporated when whisking it into water. Let sit 5 minutes before using.
So be sure to fully dehydrate the buttermilk and store the finished powder properly in an airtight container. Avoid moisture and humidity which can cause clumping.
With that, you should have delicious, smooth buttermilk powder whenever a recipe calls for it!
FAQs
Does the buttermilk culture stay active in the powder?
Unfortunately the cultures are likely destroyed during the drying process. Buttermilk powder imparts the tangy flavor but does not contain active cultures like fresh buttermilk.
How long does buttermilk powder last?
Properly dehydrated and stored buttermilk powder keeps for 3-6 months in an airtight container in a cool, dark place. Refrigeration can extend the lifespan. Discard if you smell rancidity or see moisture and clumping.
Is it better to use the oven or dehydrator?
A food dehydrator allows better temperature control for more even drying without risk of burning. But your oven works fine too if you rotate trays and monitor closely near the end.
Can I use cultured or regular buttermilk?
Either works fine, though cultured buttermilk provides more of that characteristic tangy flavor. Shake well before pouring onto trays as regular buttermilk separates more.
What’s the best way to grind into powder?
A high speed blender or small food processor allows you to create the finest, fluffiest powder texture. Just avoid overprocessing into a paste.
Can I flavor the buttermilk powder?
Yes! Feel free to add spices, sugar, salt, citrus zest, vanilla, or other flavorings into the initial buttermilk mixture before drying. Get creative with flavors!
Conclusion
Having an ample supply of buttermilk powder is a home cook’s secret weapon. No longer will you have to run out to the store when a recipe calls for buttermilk.
MakingDIY buttermilk powder requires very little active time, though the drying stage does take several hours. Set it and let your oven or dehydrator do the work!

