Arrowroot powder is a versatile ingredient used as a thickener and stabilizer in cooking and baking. With its neutral flavor and gluten-free properties, arrowroot is a handy pantry staple for thickening sauces, gravies, puddings, and even gluten-free baked goods.
While arrowroot powder can be readily purchased, making your own allows you full control over the ingredients and process. Homemade arrowroot powder retains all the freshness and thickening power of the raw roots.
1. Selecting Arrowroot Plants
There are a few varieties of tuberous plants that can produce arrowroot starch, but the most common are:
- Maranta arundinacea - Traditional source of arrowroot, cultivated in tropical regions. Produces high yields of starch.
- Canna edulis - Also known as Queensland arrowroot, grows well in drier, hot climates.
- Zamia pumila - Known as Florida arrowroot, this cycad plant produces smaller yields.
For the highest arrowroot starch content, Maranta arundinacea is the preferred variety. Check with local garden nurseries to source starts or rhizomes for planting. Arrowroot thrives in moist, well-draining soil in full sun to partial shade. Provide plenty of space for the herbaceous perennials to spread.
Key Takeaway: Maranta arundinacea offers the highest starch content for making arrowroot powder.
2. Harvesting Arrowroot Tubers
Arrowroot tubers are the underground rhizomes that store starch and allow the plants to propagate through division. Tubers can be carefully dug up and harvested periodically without destroying the plant.
Harvest arrowroot tubers when the plant foliage starts to die back, usually in late summer or fall. Carefully loosen the soil around the plant with a garden fork, then gently lift the plant and shake off excess dirt.
Select tubers that are firm and edible, without decay or sprouting growth. Replant undesirable tubers to preserve the plant for future harvests. Clean off remaining soil and debris from the harvest tubers before processing.
Freshly harvested arrowroot tubers can also be left to briefly air dry if you won't be processing them immediately. Once clean and dry, they can be stored in a cool, dry place for a few weeks before making arrowroot powder.
3. Preparing Arrowroot Tubers
Before extracting the starch, the arrowroot tubers need to be properly cleaned, peeled, and chopped:
- Rinse off any remaining dirt or debris under running water. Scrub off any blemishes with a vegetable brush.
- Trim off all roots, stems, and sprouts. Peel the tubers with a sharp knife or vegetable peeler. Discard peels.
- Submerge peeled tubers in a bowl of cool water mixed with a few tablespoons of lemon juice or vinegar. This acidic water will prevent browning of the freshly cut surfaces.
- Chop tubers into 1⁄2 inch cubes, or an appropriate size for your blender or food processor. Keep them submerged in the acidified water until ready to process.
4. Extracting Arrowroot Starch
Now comes the messy but rewarding part - extracting all that arrowroot starch from the tubers:
- Working in batches, puree the chopped tubers into a pulpy mash using a blender or food processor. Add just enough acidified water to allow blending.
- Pour the pureed mash into a fine mesh strainer over a large bowl. Press and squeeze the pulp against the strainer to release the starchy water. Discard strained pulp.
- Allow the starchy water to settle for 2-3 hours. A layer of starch will accumulate at the bottom. Carefully pour off the water.
- Add fresh cool water to the starch and mix vigorously to wash. Let settle again, then pour off water.
- Repeat washing and settling the starch 2-3 more times until water runs clear. Drain as much water as possible from the purified starch.
5. Drying the Arrowroot Starch
After extracting and washing the fresh arrowroot starch, it needs to be fully dried. Spread the wet starch paste evenly across dehydrator trays or baking sheets.
Dehydrate at 95-115°F for 12-24 hours, until completely dried. The arrowroot should be dry enough to crumble easily.
Alternatively, you can use a very low oven around 200°F with the door propped open. Spread starch paste thinner for faster drying in the oven. Stir frequently and watch closely to prevent scorching.
6. Milling the Arrowroot Powder
The final step is to mill the dried arrowroot chunks into a fine powder. Use a food processor, coffee grinder, blender, mortar and pestle or any method that creates an ultra-fine powder.
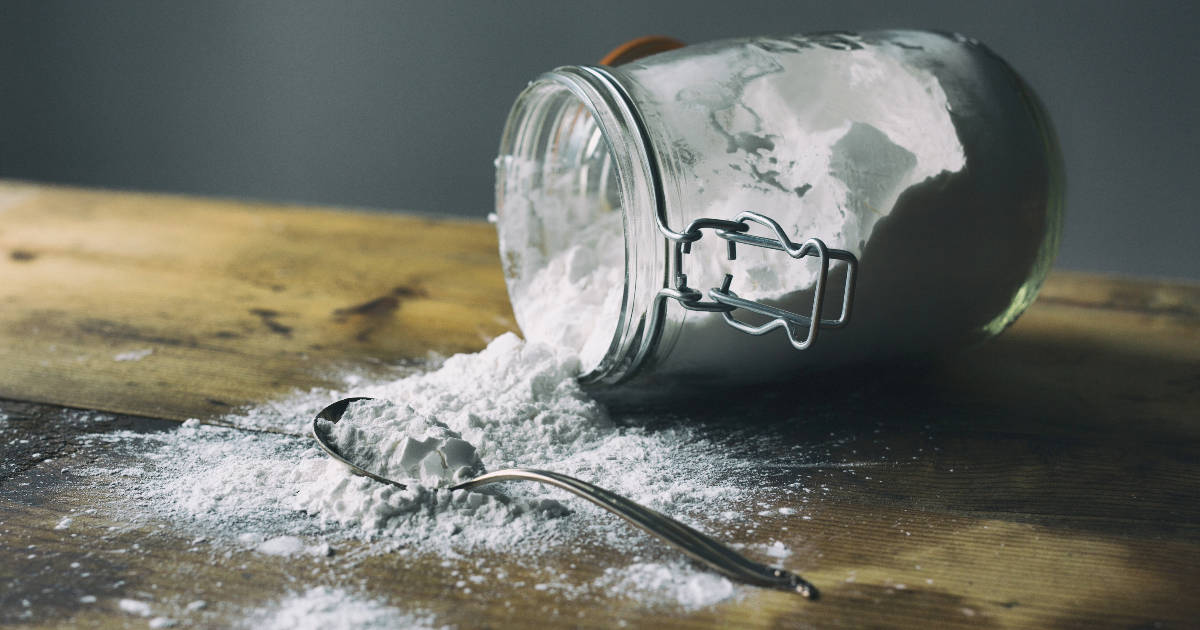
Sift the powder through a fine mesh sieve to remove any remaining fibrous bits. Store the freshly made arrowroot powder in an airtight container in a cool, dry place. Properly stored, homemade arrowroot powder lasts 1-2 years.
Key Takeaway: Extracting and drying the arrowroot starch requires a lengthy process, but yields pure, natural arrowroot powder.
Using Homemade Arrowroot Powder
The best part about homemade arrowroot powder is getting to reap the benefits of your hard work in the kitchen! Here are some of the top uses for fresh arrowroot powder:
- Thickening sauces, gravies, soups, stews, and fruit pie fillings
- Making puddings, custards, and dairy-free ice cream
- Coating proteins before pan-frying for a light, crisp crust
- Binding and lightening the texture of gluten-free baked goods
- Stabilizing whipped cream and creating mousse-like desserts
Arrowroot works especially well in acidic recipes that would cause cornstarch to break down. Due to its neutral taste, arrowroot also allows the original flavors to shine through.
For thickening, combine arrowroot powder with an equal amount of cold water first to make a slurry. Slowly mix the slurry into hot liquids towards the end of cooking. Bring back just to a simmer to activate the thickening power.
Storing and Shelf Life
The storage methods used after processing the powder will determine how long your homemade arrowroot lasts. To maximize freshness and shelf life:
- Store arrowroot powder in an airtight container in a cool, dry cupboard away from light and heat. Glass jars or mylar bags work well.
- If humidity is high, consider storing in the refrigerator or freezer for longest viability.
- Avoid direct light exposure or temperature fluctuations.
When properly stored, homemade arrowroot powder will last 1-2 years before slowly losing potency. If clumping occurs, sift again before use. Discard if you notice an off smell, color changes, or loss of thickening effect.
Homemade Arrowroot Powder
Ingredients
- 1 lb arrowroot tubers, harvested from mature Maranta arundinacea plants
- Water
- Lemon juice or vinegar
Instructions
- Clean arrowroot tubers and peel off skin. Chop into 1/2 inch cubes.
- Place chopped tubers in bowl of water mixed with lemon juice to prevent browning.
- Working in batches, blend tubers into a pulpy mash. Add just enough acidified water to blend.
- Pour mash into a fine mesh strainer over a bowl. Press out starchy water. Discard pulp.
- Let starchy water settle 2-3 hours. Carefully pour off water.
- Wash starch 2-3 more times by mixing with water, settling, and pouring off water.
- Spread wet starch on dehydrator trays or baking sheets. Dehydrate at 115°F for 12-24 hours until fully dried.
- Mill dried starch into a fine powder using a blender or food processor. Sift to remove any fibrous bits.
- Store powder in an airtight container in a cool, dry place. Keeps 1-2 years when stored properly.
Notes
FAQs
Can I use other root vegetables like cassava or yucca to make arrowroot?
While cassava and yucca roots do produce starch, their extraction process differs from arrowroot. The starch content and cooking properties also vary slightly. For true arrowroot powder, tubers from Maranta arundinacea plants are ideal.
Is homemade arrowroot powder the same as store-bought?
Homemade arrowroot is very similar to commercial versions in cooking performance. The texture, neutral flavor, and thickening action should be comparable. The main benefit of homemade is purity and freshness.
How much arrowroot powder can I yield from a plant?
On average, you can get around 1 cup of arrowroot powder per 1 pound of fresh arrowroot tubers. However, yield ultimately depends on the plant variety, growing conditions, and harvest time. Expect some tuber loss during processing as well.
Can I use a dehydrator, oven, or solar drying method?
All three methods can work to dry the arrowroot starch, as long as temperatures are kept low. Spread starch paste thinner for faster drying times. Dehydrators offer the best temperature control for maximum thickening potency.
Why does arrowroot thicken better than cornstarch?
Arrowroot starch forms clearer, shinier gels compared to cornstarch. The different amylose and amylopectin ratios in arrowroot make its starches more readily absorb water. This translates to better thickening efficiency in cooking.
Conclusion
Making your own arrowroot powder takes time and labor, but offers great satisfaction and control over the ingredients. Starting with fresh arrowroot tubers right from the garden allows you to produce pure, natural starch unaltered by high heat or chemicals.
While not necessarily more economical than purchasing arrowroot powder, the lower environmental impact and ability to customize processing can make homemade arrowroot worthwhile.