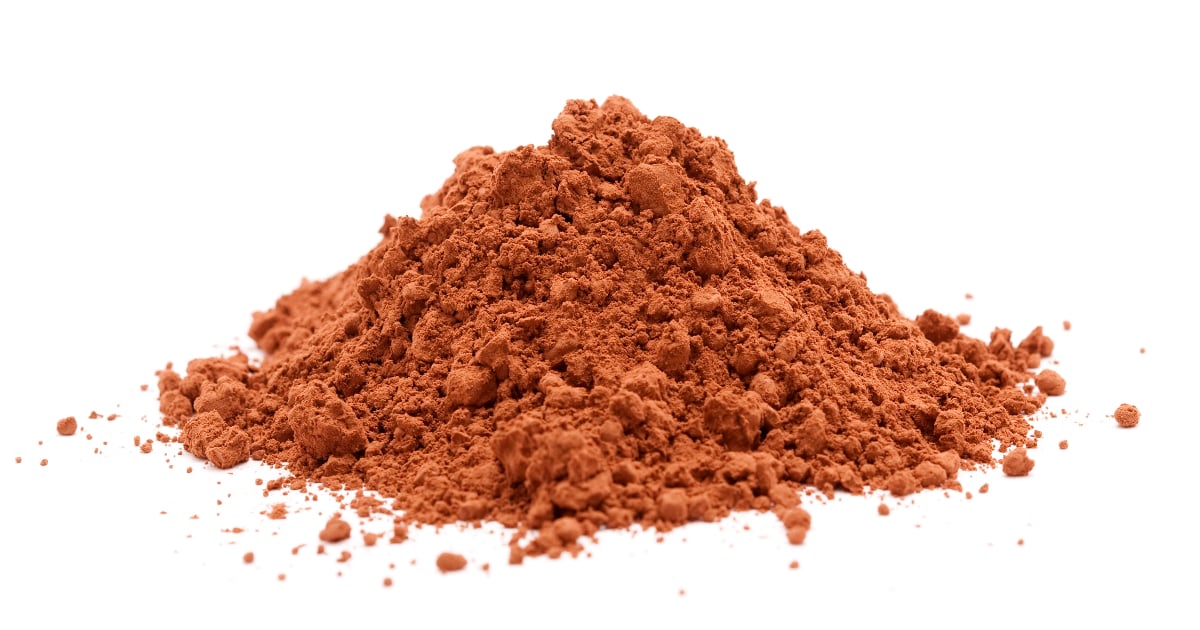
Have you ever looked at the ingredient list on a container of Nesquik powder? It contains quite a few preservatives, emulsifiers, and other additives like carrageenan and soy lecithin. While these ingredients help improve the shelf life and texture of store-bought Nesquik, many people prefer to avoid them.

The good news is, you can easily make a homemade version of chocolate milk powder using just three simple whole food ingredients - cocoa powder, sugar, and salt. Making your own DIY Nesquik powder saves money and allows you to control exactly what goes into your chocolate milk.
The Simple 3-Ingredient Homemade Nesquik Recipe
The foundation for making your own chocolate milk powder is simply:
- Cocoa powder
- Granulated sugar
- A pinch of salt
That's it! With just these three basic ingredients, you can duplicate the flavor of Nesquik powder without any of the additives.

How to Make Your Own Homemade Nesquik Powder - Recipe
Ingredients
- 2/3 cup sugar
- 1/3 cup unsweetened cocoa powder
- 1/8 teaspoon salt (optional)
Instructions
- Making homemade Nesquik powder couldn't be easier. Just mix up the ingredients!
- Simply combine the sugar, cocoa powder, and optional salt in a sealed container. Shake vigorously until fully blended. And your homemade chocolate milk powder is ready to go!
- You can also use a food processor to mix everything together. Blending for a few seconds ensures the ingredients integrate completely.
- When mixing a big batch, use a large glass jar or air-tight storage container. This homemade chocolate milk powder will stay fresh for up to 2 years when properly stored.
- To make one glass of chocolate milk, use about 2 tablespoons of the powder. So a bigger batch lets you whip up multiple chocolate milk drinks. You can tweak the cocoa powder and sugar ratio to your preferred taste as well.
Selecting the Best Cocoa Powder
Obviously cocoa powder is the key ingredient that provides the beloved chocolate flavor. When selecting cocoa powder, look for a brand that contains 100% cacao and avoid cocoa mixes with added sugars. Hershey's is a popular brand that makes a quality 100% cacao powder.
Read the nutrition label when comparing options. The best cocoa powder will have about 1 gram of fat per 5-6 gram serving. This indicates higher cacao butter content. Cocoa powder with too little fat content can taste overly bitter and harsh.
You can use natural or Dutch-process cocoa powder. Dutch-process cocoa powder is treated with an alkalizing agent to neutralize acidity which creates a darker color and smoother, less bitter flavor.
For richness, stick to regular natural cocoa but Dutch-process cocoa works fine too - simply choose the type of flavor you prefer.
Dissolving the Powder Into Milk
Here comes the important part - getting the chocolate powder to fully incorporate into cold milk without any clumping or grittiness.
There are two easy methods to dissolve the homemade cocoa mix:
Hot Water Technique
The hot water method guarantees a super smooth chocolate milk every time. Here's how:
- Heat a small amount of water - just 1-2 tablespoons - until hot but not boiling
- Place the heated water in a glass and stir in 1-2 tablespoons of the cocoa powder mixture
- Whisk vigorously until the powder is completely dissolved into the warm water
- Fill the rest of the glass with cold milk
- Mix again before drinking
Using a bit of hot water to create a liquid paste first prevents the powder from clumping when added straight into cold milk. The warmth helps dissolve the cocoa particles completely so they blend seamlessly into the final chilled milk.
Blender Method
You can also use an electric blender, like a Nutribullet or countertop blender, for mixing the chocolate milk powder into milk. Simply:
- Add 1-2 tablespoons powder per 1 cup milk into the blender cup
- Blend on high speed for about 20-30 seconds until fully mixed
- Pour into a glass and enjoy!
Using a blender is fast and effective. The mechanical action also helps integrate the powder smoothly. For extra cold chocolate milk, throw an ice cube into the blender too!
So either the hot water or blender technique both work excellently to make chocolate milk with the homemade cocoa mix. Choose based on your preferences - the water method dissolves the powder first while the blender method does it all at once.
Enjoy Chocolate Milk or Hot Cocoa
Now just add your homemade chocolate powder into milk or hot milk whenever you want to enjoy a sweet, chocolatey drink!
Here is a quick guide for making chocolate milk or hot cocoa with the 3-ingredient homemade Nesquik powder:
- Chocolate milk - Mix 1-2 tablespoons powder with 1 cup cold milk using either the hot water dissolve method or blender method
- Hot cocoa - Add 1-2 tablespoons powder into 1 cup heated hot milk and stir well to dissolve
So your homemade chocolate milk powder doubles nicely as a delicious hot chocolate mix too!
Feel free to adjust the amount of powder to taste as everyone has different preferences for chocolate intensity. Customize it to keep your kids happy or suit your own level of chocolate obsession!
Storing the Homemade Powder
Properly stored, this easy homemade Nesquik powder will stay fresh for up to 2 years.
To store, keep the chocolate milk powder mixture in a sealed glass jar or storage container away from light, heat, and moisture. An air-tight jar is best for maximum freshness.
Over time, the powder may harden or clump together. Simply break apart any clumps or give it a quick mix in the food processor if needed.
Clearly label jars with the date if making big batches. Use oldest mixes first when whipping up chocolate milk drinks.
Making multiple jars allows you to share the chocolate drink goodness! Hand out as gifts to introduce others to your homemade healthy chocolate milk alternative too.
Key Takeaway: Homemade cocoa powder mixes will stay fresh for about 2 years stored properly in a sealed, air-tight glass jar away from light, heat, and moisture. Remix powder if any clumping occurs over time.
FAQs
Can I use other sweeteners instead of regular granulated sugar?
Yes! You can substitute sugar alternatives like coconut sugar, maple sugar, stevia, or erythritol instead of regular table sugar. Splenda or other artificial sweeteners tend to have a strong aftertaste that may come through unpleasantly but you can experiment. Combining stevia and sugar creates a nice balance.
What milk is best to use?
Any type of milk works great for mixing chocolate milk powder! Whole milk, 2% reduced-fat milk, non-dairy milks like almond milk or coconut milk - use your favorite. The creaminess of whole milk contrasts beautifully with rich chocolate flavor if you want to indulge.
Can homemade cocoa powder be used in baking too?
Sure! This 3-ingredient chocolate powder will lend its chocolatey flavor nicely in recipes for cakes, cookies, muffins, etc. Adjust any added sugar in baked goods since the homemade mix provides sweetness too.
Is the homemade chocolate milk healthy?
While chocolate milk isn't the healthiest drink choice, the homemade preservative-free version makes for a nice occasional treat. Made with basic kitchen ingredients, it avoids unwanted additives found in store-bought powder. Keep consumption occasional though as the sugar content is high.
How much powder should be added to milk?
This comes down to personal taste but a good rule of thumb is 2 tablespoons of powder per 1 cup of milk. Add less if you prefer lighter chocolate flavor or more for an intense chocolate hit! Tweak to your preferred richness.
Conclusion
Whipping up DIY chocolate milk powder takes mere minutes and just three common ingredients - cocoa powder, sugar, and salt. For the best flavor, opt for high-quality unsweetened cocoa powder with a higher fat percentage.
Simply mix the ingredients to create your own cheaper, preservative-free alternative to store-bought Nesquik powdered chocolate mix.

